DarkNet 2.3.0
dotnet add package DarkNet --version 2.3.0
NuGet\Install-Package DarkNet -Version 2.3.0
<PackageReference Include="DarkNet" Version="2.3.0" />
paket add DarkNet --version 2.3.0
#r "nuget: DarkNet, 2.3.0"
// Install DarkNet as a Cake Addin
#addin nuget:?package=DarkNet&version=2.3.0

// Install DarkNet as a Cake Tool
#tool nuget:?package=DarkNet&version=2.3.0
 DarkNet


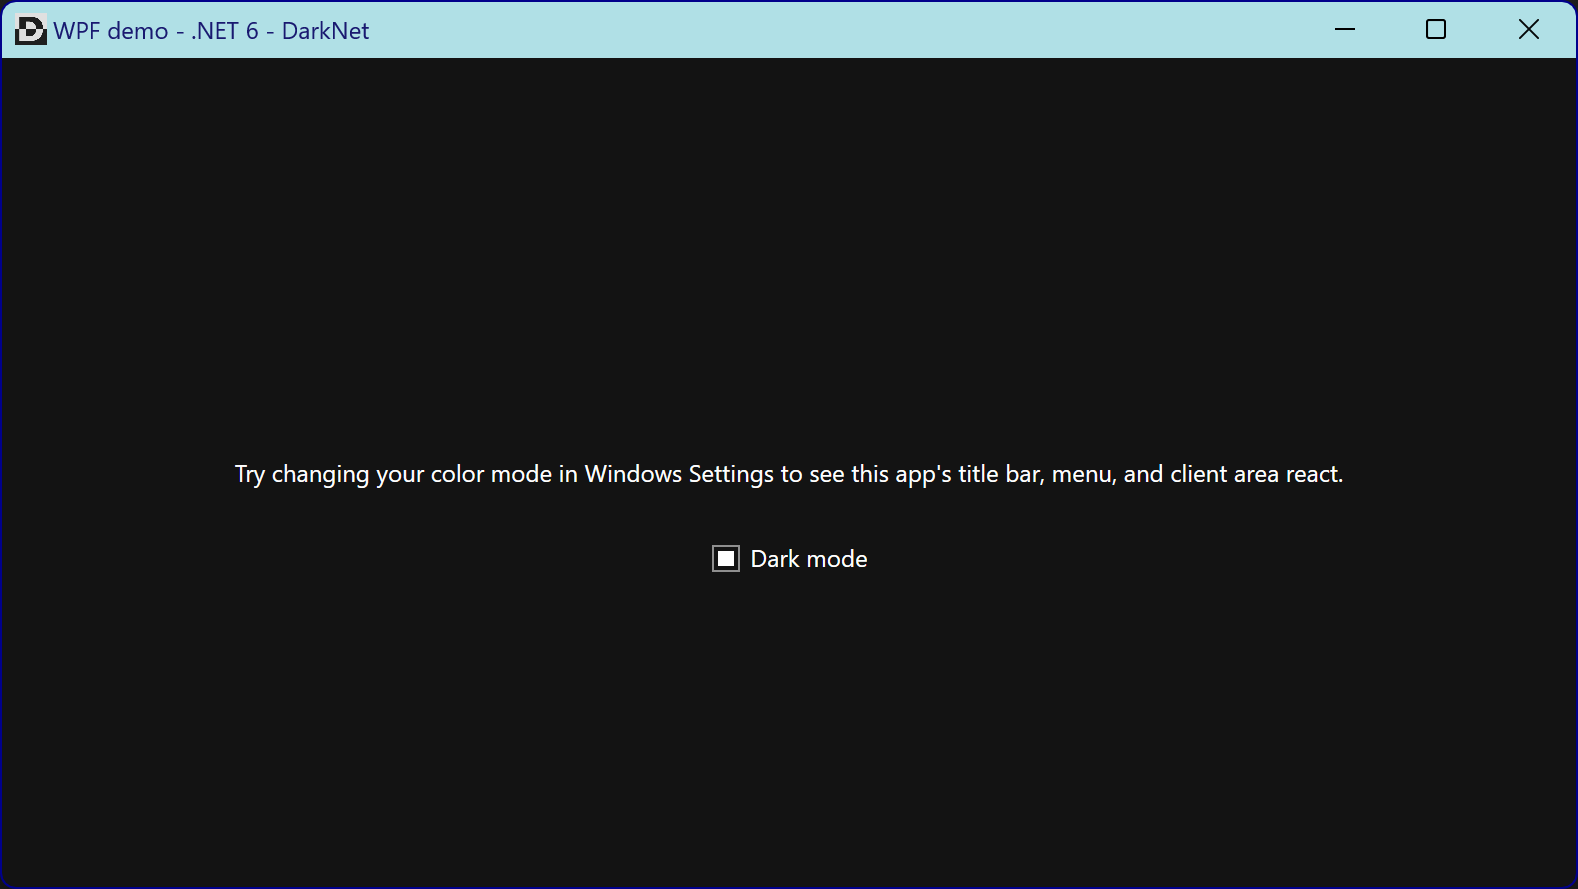
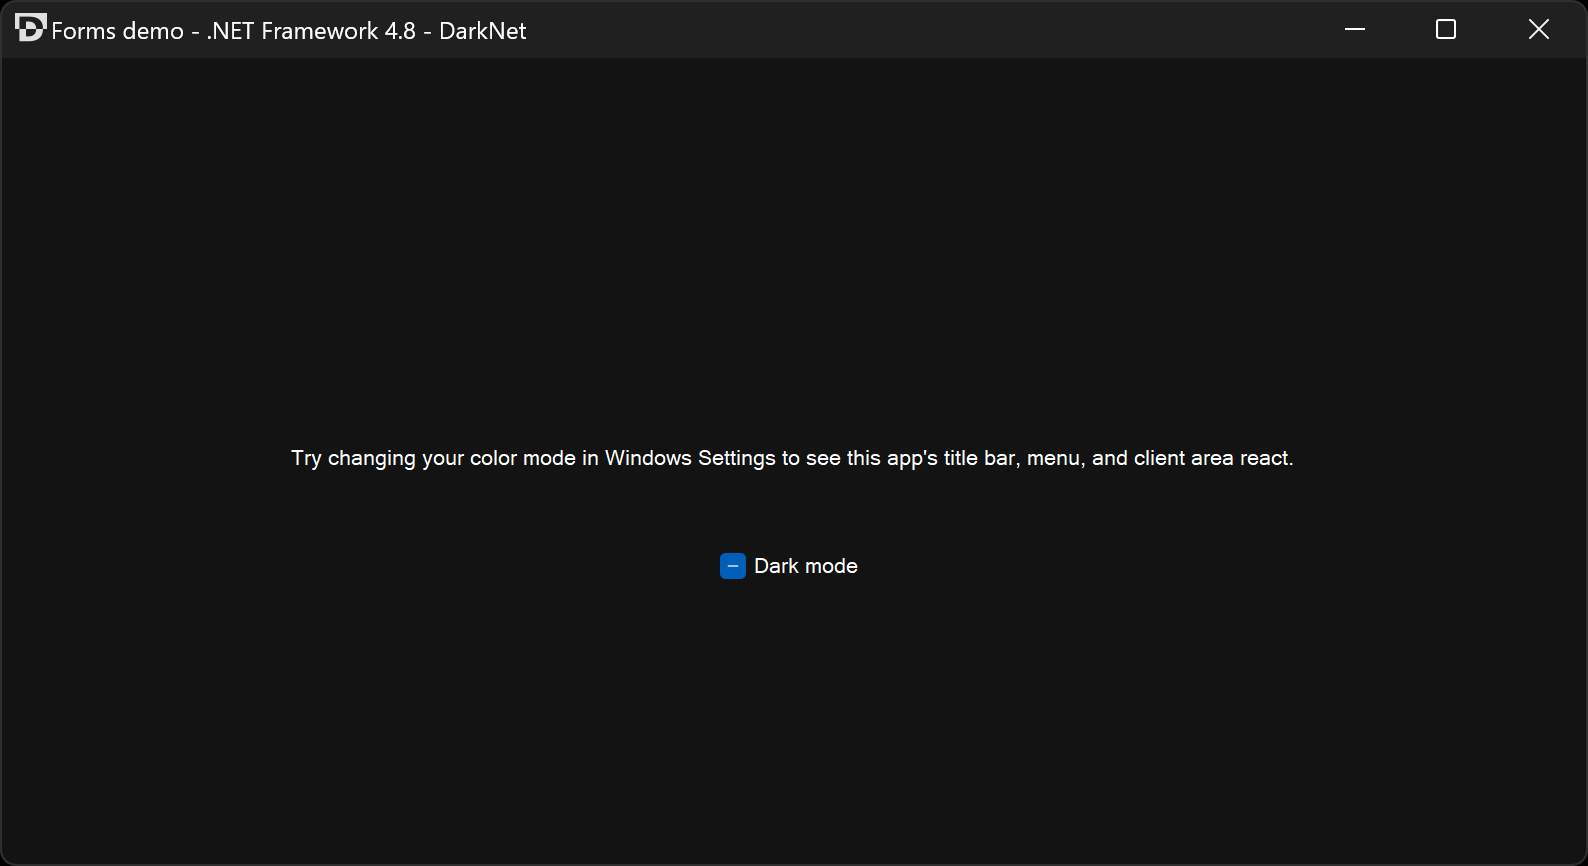
Enable native Windows dark mode for your WPF and Windows Forms title bars.

- Requirements
- Installation
- Usage
- Demos
- Limitations
- Acknowledgements
Requirements
- .NET runtime
- .NET 5.0 or later
- .NET Core 3.1 or later
- .NET Framework 4.5.2 or later
- Windows
- Windows 11 or later
- Windows 10 version 1809 (October 2018 Update) or later
- You can still run your program on earlier Windows versions as well, but the title bar won't turn dark
- Windows Presentation Foundation, Windows Forms, or access to the native window handle of other windows in your process
Installation
DarkNet is available in NuGet Gallery.
dotnet add package DarkNet
Install-Package DarkNet
Usage
Basics
Entry point
The top-level interface of this library is Dark.Net.IDarkNet, which is implemented by the DarkNet class. A shared instance of this class is available from DarkNet.Instance, or you can construct a new instance with new DarkNet().
Methods
First, you may optionally call
SetCurrentProcessTheme(Theme)to define a default theme for your windows, although it doesn't actually apply the theme to any windows on its own.This method also controls the theme of the application's context menu, which appears when you right-click the title bar of any of its windows. This means all windows in your app will have the same context menu theme, even if you set their window themes differently.
If you don't call this method, any window on which you call
SetWindowTheme*(myWindow, Theme.Auto)will inherit its theme from the operating system's default app theme, skipping this app-level default.Next, you must call one of the
SetWindowTheme*methods to actually apply a theme to each window. There are three methods to choose from, depending on what kind of window you have:- WPF:
SetWindowThemeWpf(Window, Theme, ThemeOptions?) - Forms:
SetWindowThemeForms(Form, Theme, ThemeOptions?) - HWND:
SetWindowThemeRaw(IntPtr, Theme, ThemeOptions?)
If you don't call one of these methods on a given window, that window will always use the light theme, even if you called
SetCurrentProcessThemeand set the OS default app mode to dark.These are three separate methods instead of one overloaded method in order to prevent apps from having to depend on both WPF and Windows Forms when they only intend to use one, because an overloaded method signature can't be resolved when any of the parameters' types are missing.
- WPF:
Themes
This library uses the Theme enum to differentiate Dark mode from Light mode. You can set any window in your application to use whichever theme you want, they don't all have to be the same theme.
There is also an Auto theme value that allows the theme to be inherited from a higher level, falling back from the window to the process to the user account default app theme:
- When a window's theme is
DarkorLight, it uses that theme directly, set bySetWindowTheme*. - When a window's theme is
Auto, it inherits from the process's theme set bySetCurrentProcessTheme. - When a window and its process's themes are both
Auto, they inherit from the local user's operating system default app theme preferences (Settings › Personalization › Colors › Choose your default app mode).
Live updates
If your app is running with the Auto theme at both the window and process levels, and the user changes their OS default app mode in Settings, then your app will automatically render with the new theme, without you having to handle any events or restart the app.
Try the demo apps to see this behavior in action.
WPF
On application startup
Before showing any windows in your application, you may optionally call
IDarkNet.SetCurrentProcessTheme(theme);
A good place to call this is in an event handler for your Application's Startup event, or in its overridden OnStartup method.
By default, WPF apps have an App.xaml.cs class that inherits from Application. You can override OnStartup to initialize DarkNet:
// App.xaml.cs
using Dark.Net;

public partial class App: Application {

    protected override void OnStartup(StartupEventArgs e) {
        base.OnStartup(e);
        DarkNet.Instance.SetCurrentProcessTheme(Theme.Auto);
    }
}
Before showing a new window
Before showing each window in your application, you have to set the theme for that window.
IDarkNet.SetWindowThemeWpf(window, theme);
A good place to call this is in the window's constructor after the call to InitializeComponent, or in an event handler for the window's SourceInitialized event.
If you call it too late (such as after the window is shown), the theme will not change.
// MainWindow.xaml.cs
using Dark.Net;

public partial class MainWindow {

    public MainWindow() {
        InitializeComponent();
        DarkNet.Instance.SetWindowThemeWpf(this, Theme.Auto);
    }

}
You must perform this step for every window you show in your application, not just the first one.
After showing a window
After calling SetWindowThemeWpf for the first time and showing a new window, you may optionally make additional calls to SetCurrentProcessTheme or SetWindowThemeWpf multiple times to change the theme later. This is useful if you let users choose a theme in your app's settings.
Try the demo apps to see this behavior in action.
Client area
DarkNet does not give controls in the client area of your windows a dark skin. It only changes the theme of the title bar and system context menu. It is up to you to make the inside of your windows dark.
However, this library can help you switch your WPF application resource dictionaries to apply different styles when the process title bar theme changes.
This limited class currently only handles process theme changes, and does not handle individual windows using different themes in the same process. For more fine-grained skin management, see pull request #8.
This requires you to create two resource dictionary XAML files, one for the light theme and one for dark. To tell DarkNet to switch between the resource dictionaries when the process theme changes, register them with SkinManager:
new Dark.Net.Wpf.SkinManager().RegisterSkins(
    lightThemeResources: new Uri("Skins/Skin.Light.xaml", UriKind.Relative),
    darkThemeResources:  new Uri("Skins/Skin.Dark.xaml", UriKind.Relative));
After you register the skin URIs, SkinManager will change the Source property of the resource dictionary to point to the correct skin, once immediately when you call RegisterSkins and again whenever the current process theme changes in the future.
In your skin resource dictionaries, you can define resources, such as a Color, Brush, or BitmapImage, that are referred to using a DynamicResource binding somewhere in your window. You can also create a Style that applies to a TargetType, or that you refer to with a DynamicResource. These can apply a ControlTemplate to change the default appearance of controls like CheckBox, which unfortunately has property triggers that must be completely replaced in order to be restyled, instead of using template bindings or attached properties. Try to use DynamicResource instead of StaticResource so that the style can update when the skin is changed.
To get started overriding a control's default styles and control template, right-click the control in the Visual Studio XAML Designer, select Edit Template › Edit a Copy…, then define the resource in your skin's resource dictionary.
See darknet-demo-wpf for an example.
Skins/contains the resource dictionaries for light and dark skins, as well as common resources that are shared by both skins.- The dark skin in
Skin.Dark.xamloverrides the styles and control template for theCheckBoxto get rid of the light background, including when the mouse pointer is hovering over or clicking on it.
- The dark skin in
App.xaml.csregisters the skins withSkinManager.- When referring to XAML files in other assemblies, or when processing assemblies with tools like
ILRepack, the skin URIs can change. You may need to try multiple fallback URIs depending on whether the app was built in a Debug or Release configuration.
- When referring to XAML files in other assemblies, or when processing assemblies with tools like
App.xamlcan optionally point to either the dark or light skin in its merged resource dictionary, which will be replaced at runtime bySkinManager.- The value you set here is useful for previewing during Visual Studio XAML authoring. If you choose not to add a resource dictionary here,
SkinManagerwill add one for you automatically at runtime, but the skin will be missing from XAML authoring previews and they will look broken in Visual Studio. - The app's merged dictionary can additionally refer to your other unrelated resource dictionaries and resources, which won't be touched by
SkinManager.
- The value you set here is useful for previewing during Visual Studio XAML authoring. If you choose not to add a resource dictionary here,
MainWindow.xamlbinds theWindowStyleproperty to aDynamicResourcepointing to thewindowStyleresource, which is defined twice in both the light and dark skin resource dictionaries. You need to explicitly bindWindowstyles like this instead of using aTargetTypeon yourStylebecauseTargetTypedoes not apply to superclasses, and the concrete class here isdarknet_demo_wpf.MainWindowinstead ofSystem.Windows.Window.
Additional examples of WPF skins for light and dark themes:
Complete example
See the demo App.xaml.cs and MainWindow.xaml.cs.
Windows Forms
On application startup
Before showing any windows in your application, you may optionally call
IDarkNet.SetCurrentProcessTheme(theme);
A good place to call this is at the start of the Main() method of your application.
// Program.cs
using Dark.Net;

internal static class Program {

    [STAThread]
    private static void Main() {
        DarkNet.Instance.SetCurrentProcessTheme(Theme.Auto);

        // Incomplete example; see below for complete example including showing your first window.
    }
}
Before showing a new window
Before showing each window in your application, you have to set the theme for that window.
IDarkNet.SetWindowThemeForms(window, theme);
You must do this before calling Show() or Application.Run() to show the window. If you call it too late (such as after the window is shown), the theme will not change.
Form mainForm = new Form1();
DarkNet.Instance.SetWindowThemeForms(mainForm, Theme.Auto);
You must perform this step for every window you show in your application, not just the first one.
After showing a window
After calling SetWindowThemeForms for the first time and showing a new window, you may optionally make additional calls to SetCurrentProcessTheme or SetWindowThemeForms multiple times to change the theme later. This is useful if you let users choose a theme in your app's settings.
Try the demo apps to see this behavior in action.
Complete example
// Program.cs
using Dark.Net;

internal static class Program {

    [STAThread]
    private static void Main() {
        Application.EnableVisualStyles();
        Application.SetCompatibleTextRenderingDefault(false);
        DarkNet.Instance.SetCurrentProcessTheme(Theme.Auto);

        Form mainForm = new Form1();
        DarkNet.Instance.SetWindowThemeForms(mainForm, Theme.Auto);

        Application.Run(mainForm);
    }

}
See also the demo Program.cs and Form1.cs.
HWND
If you want to change the theme of a window in your application that was not created with WPF or Windows Forms, you can also just pass the raw HWND of the window to SetWindowThemeRaw(IntPtr, Theme).
Effective application theme
If you want to know which theme was rendered as a result of setting your app's theme to Auto using SetCurrentProcessTheme, you can get EffectiveCurrentProcessThemeIsDark. This will return whether the actual title bar theme is dark or light, and it reflects the theme you set, the user's OS color settings, and the high contrast setting. Changes are emitted from the EffectiveCurrentProcessThemeIsDarkChanged event.
This can be useful if you want to set the theme to Auto and then skin your app's client area based on the Windows default app mode setting. It also helps you keep a single, authoritative copy of this state instead of having to maintain a second one and keep them in sync.
Taskbar theme
Windows introduced a preference to choose a dark or light taskbar in Windows 10 version 1903. This is controlled by Settings › Personalization › Colors › Choose your default Windows mode.
DarkNet exposes the value of this preference with the UserTaskbarThemeIsDark property, as well as the change event UserTaskbarThemeIsDarkChanged. You can use these to render a tray icon in the notification area that matches the taskbar's theme, and re-render it when the user preference changes.
Custom colors
Windows 11 introduced the ability to override colors in the non-client area of individual windows. You can change the title bar's text color and background color, as well as the window's border color.
To specify custom colors for a WPF, Forms, or HWND window, pass the optional parameter ThemeOptions? options to one of the SetWindowTheme*() methods. For example, this invocation gives a WPF window a blue title bar theme.
DarkNet.Instance.SetWindowThemeWpf(this, Theme.Dark, new ThemeOptions {
    TitleBarTextColor       = Color.MidnightBlue,
    TitleBarBackgroundColor = Color.PowderBlue,
    WindowBorderColor       = Color.DarkBlue
});
You can pass any or all of the three properties TitleBarTextColor, TitleBarBackgroundColor, and WindowBorderColor. You can pass a custom RGB value using Color.FromArgb(red: 255, green: 127, blue: 0). Alpha values are ignored. Properties that you omit or leave null will remain unchanged from their previous appearance, which would be either the last value you set, or the OS default color for your Theme if you never set it for the window.
By default, Windows will automatically change the color of the title bar text and minimize, maximize/restore, and close button icons to light or dark in order to provide maximal contrast with TitleBarBackgroundColor. If you set TitleBarTextColor, Windows will use it for the title text, and will only change the button icon color automatically.
To apply the same custom colors to all of the windows in your process, you may instead pass the ThemeOptions to SetCurrentProcessTheme(Theme, ThemeOptions?), then omit the options parameter when you call SetWindowTheme*(window, theme, options). Alternatively, you may set some of the properties at the process level and set others at the window level. You may also set a property at both the process and window level, and the window level value will take precedence.
To remove the window border entirely, set WindowBorderColor to ThemeOptions.NoWindowBorder.
If you previously set any of these properties to a custom color, and want to revert it to the standard OS color for your chosen Theme, set the property to ThemeOptions.DefaultColor.
On Windows 10 and earlier versions, these options will have no effect.
Demos
You can download the following precompiled demos, or clone this repository and build the demo projects yourself using Visual Studio Community 2022.
WPF
Download and run darknet-demo-wpf.exe from the latest release, or view source.
Requires .NET Desktop Runtime 6 x64 or later.
Windows Forms
Download and run darknet-demo-winforms.exe from the latest release, or view source.
Requires .NET Framework 4.8 or later.
Limitations
- This library only changes the theme of the title bar/window chrome/non-client area, as well as the system context menu (the menu that appears when you right click on the title bar, or left click on the title bar icon, or hit
Alt+Space). It does not change the theme of the client area of your window. It is up to you to make that look different when dark mode is enabled. This is difficult with Windows Forms, particularly in .NET Core.- For simple examples of automatically switching WPF resource dictionaries using
SkinManagerand writing dark and light mode skins, see Aldaviva/Trainers and Aldaviva/RemoteDesktopServicesCertificateSelector.
- For simple examples of automatically switching WPF resource dictionaries using
- This library currently does not help you persist a user's choice for the mode they want your application to use across separate process executions. You can expose an option and persist that yourself, then pass the desired
Themevalue to the methods in this library.
Acknowledgements
- Milan Burda for explaining how to add this in Electron
- dyasta for an explanation on Stack Overflow
- Richard Yu for implementing this in a C++ library
- Berrysoft for implementing this in Mintty, the Cygwin Terminal emulator (further discussion)
- Pavel Yosifovich for showing how to set custom title bar colors in Windows 11
| Product | Versions Compatible and additional computed target framework versions. |
|---|---|
| .NET | net5.0 was computed. net5.0-windows was computed. net6.0 was computed. net6.0-android was computed. net6.0-ios was computed. net6.0-maccatalyst was computed. net6.0-macos was computed. net6.0-tvos was computed. net6.0-windows was computed. net7.0 was computed. net7.0-android was computed. net7.0-ios was computed. net7.0-maccatalyst was computed. net7.0-macos was computed. net7.0-tvos was computed. net7.0-windows was computed. net8.0 was computed. net8.0-android was computed. net8.0-browser was computed. net8.0-ios was computed. net8.0-maccatalyst was computed. net8.0-macos was computed. net8.0-tvos was computed. net8.0-windows was computed. |
| .NET Core | netcoreapp3.1 is compatible. |
| .NET Framework | net452 is compatible. net46 was computed. net461 was computed. net462 was computed. net463 was computed. net47 was computed. net471 was computed. net472 was computed. net48 was computed. net481 was computed. |
-
.NETCoreApp 3.1
- No dependencies.
-
.NETFramework 4.5.2
- No dependencies.
NuGet packages
This package is not used by any NuGet packages.
GitHub repositories (3)
Showing the top 3 popular GitHub repositories that depend on DarkNet:
| Repository | Stars |
|---|---|
|
t1m0thyj/WinDynamicDesktop
Port of macOS Mojave Dynamic Desktop feature to Windows 10
|
|
|
infinitepower18/WSA-SystemControl
Monitor WSA status and turn WSA on/off from the system tray
|
|
|
ME3Tweaks/ME3TweaksModManager
Mod Manager for Mass Effect Original Trilogy and Mass Effect Legendary Edition
|
| Version | Downloads | Last updated |
|---|---|---|
| 2.3.0 | 2,330 | 8/1/2023 |
| 2.2.0 | 1,534 | 3/27/2023 |
| 2.2.0-SNAPSHOT2 | 851 | 3/10/2023 |
| 2.2.0-SNAPSHOT1 | 880 | 3/4/2023 |
| 2.1.1 | 1,005 | 3/3/2023 |
| 2.1.0 | 1,074 | 2/10/2023 |
| 2.0.1 | 1,386 | 10/5/2022 |
| 2.0.0 | 1,161 | 9/24/2022 |
| 2.0.0-SNAPSHOT1 | 909 | 9/24/2022 |